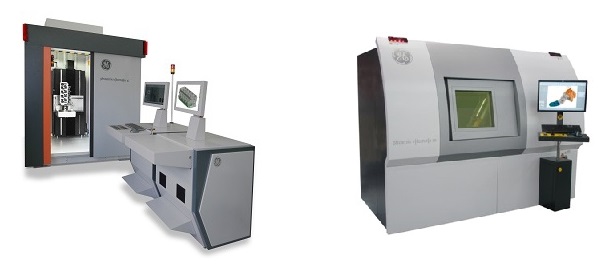
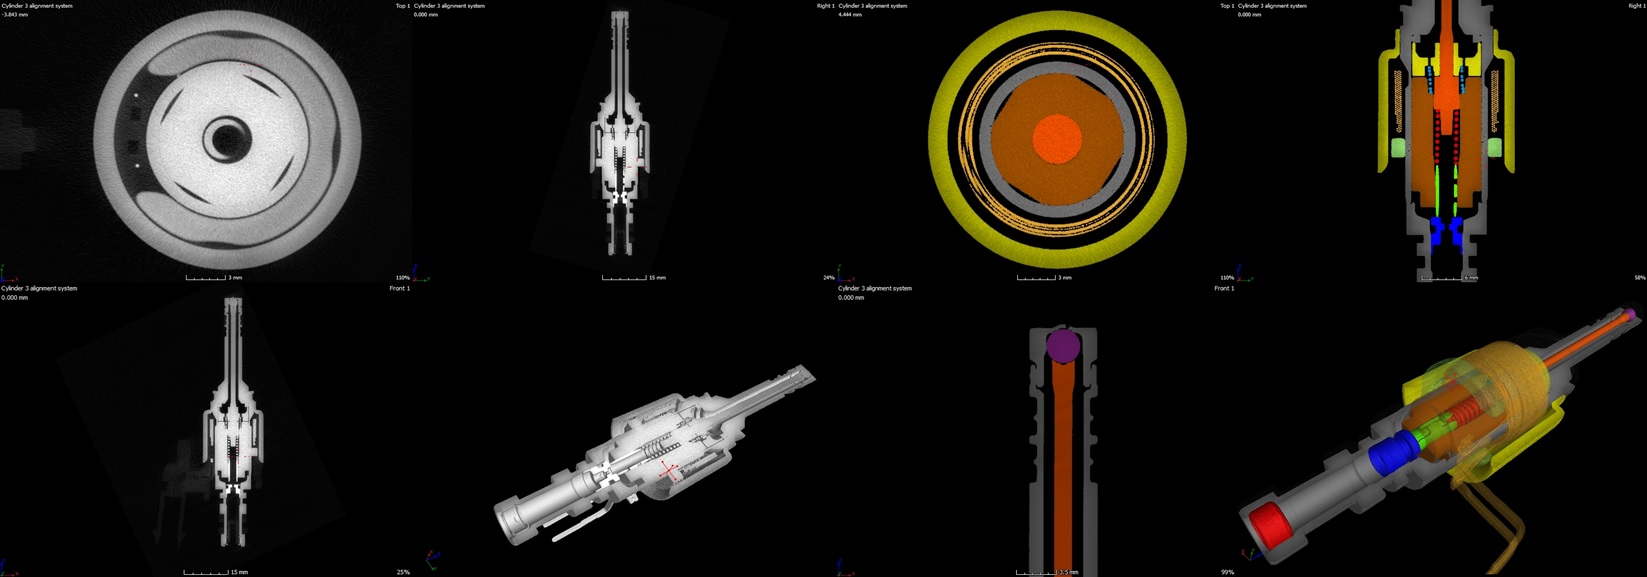
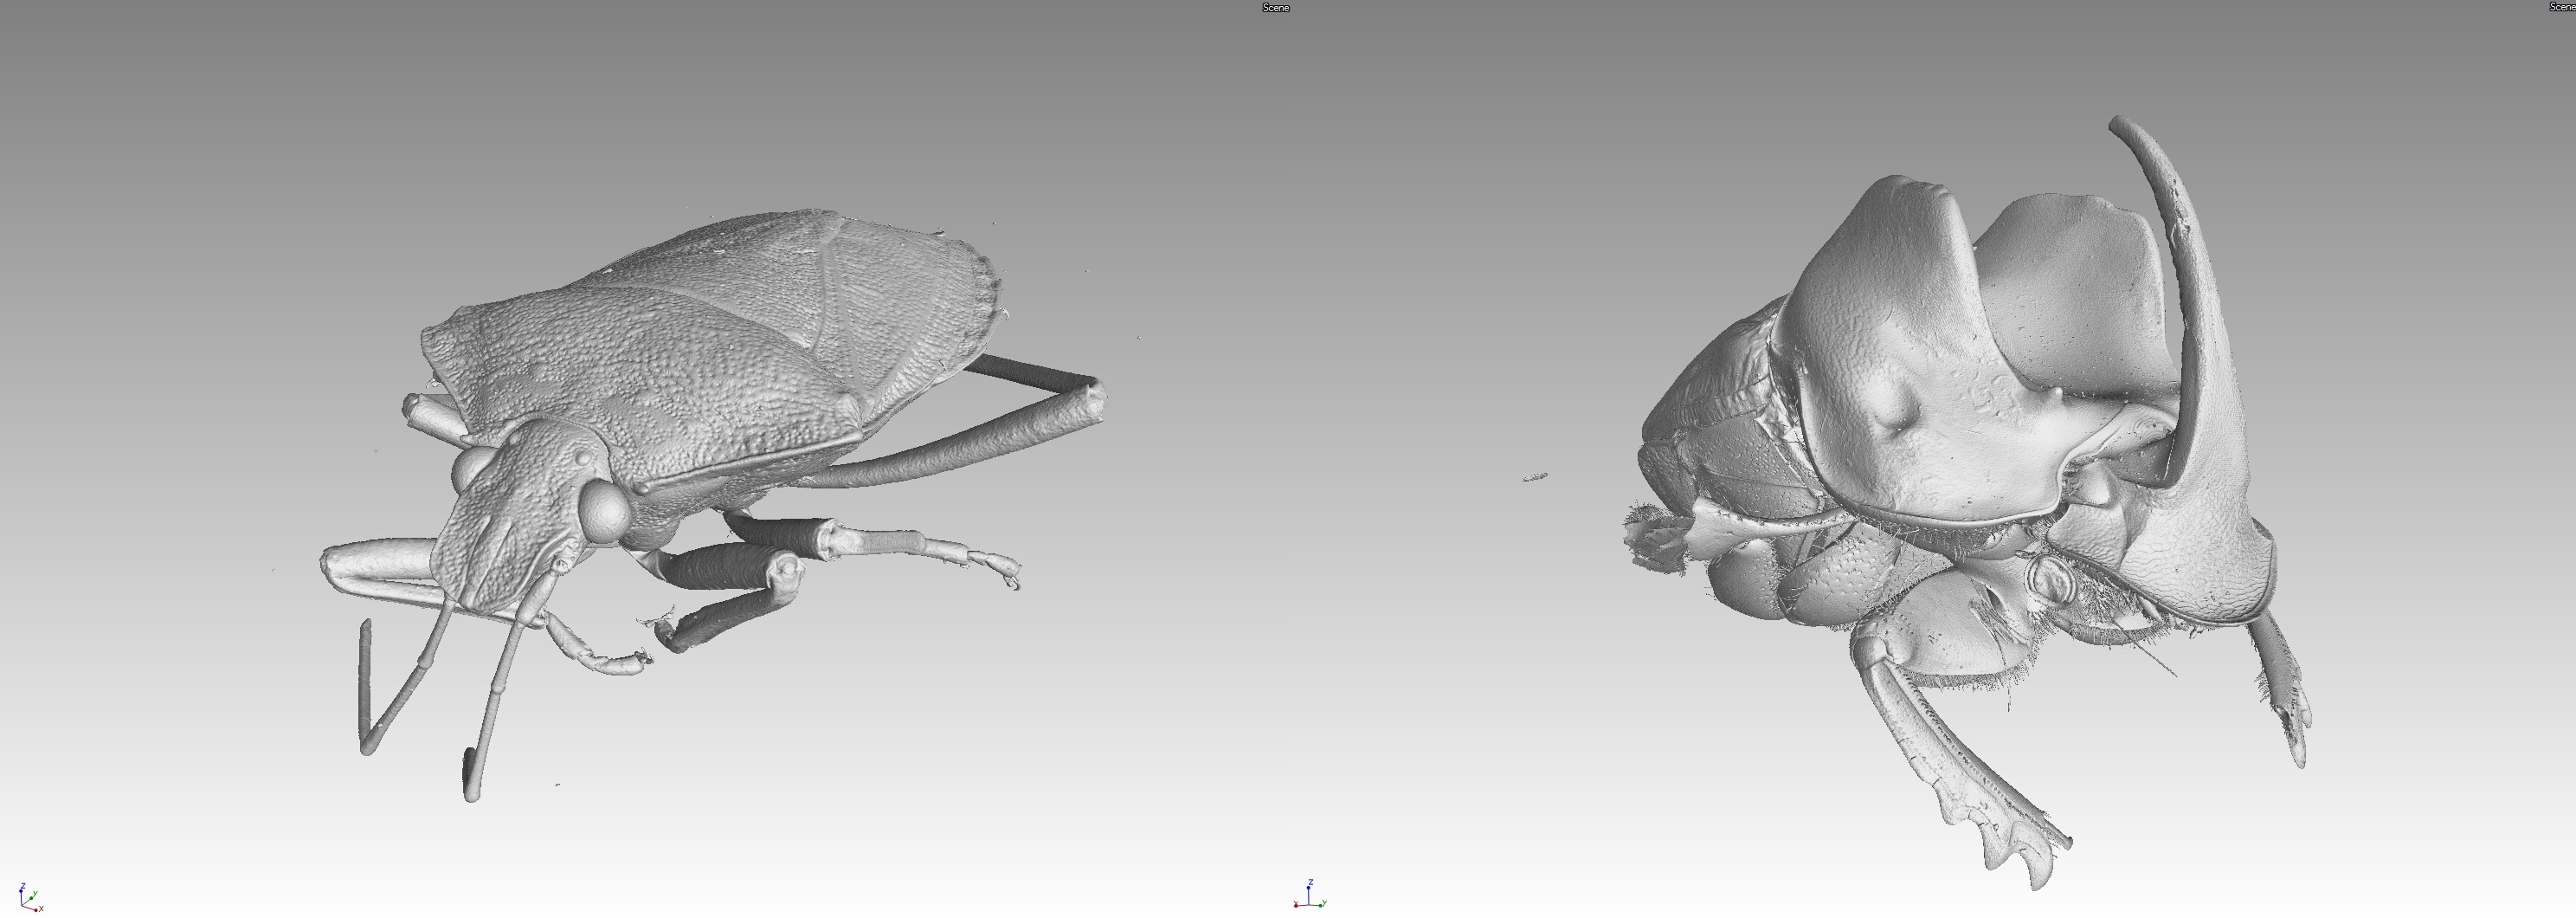
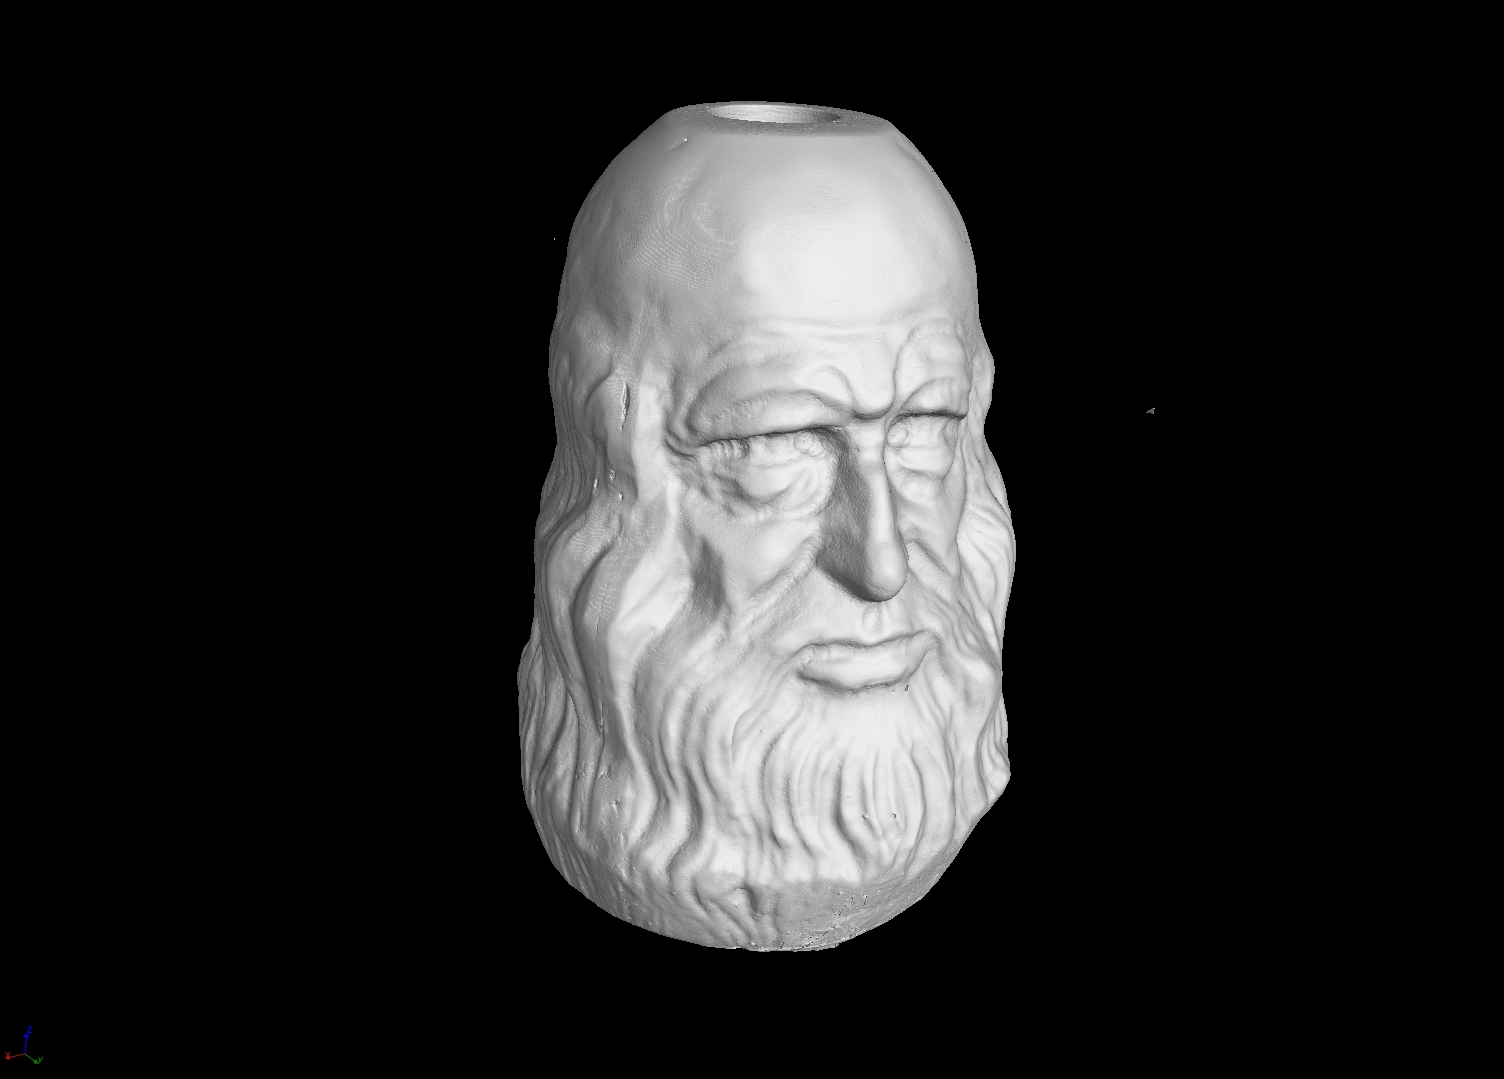
Industrial X-ray computed tomography is the most advanced X-ray inspection technique available in the industry. It is a totally non-destructive and contactless method, which allows obtaining internal and external information of any object. Thanks to this technique it is possible to virtually eliminate the misjudgment, giving you a visual understanding of your product.
Labormet Due, in addition to being able to supply the systems, offers industrial computed tomography services: reverse engineering, porosity evaluation, internal defect verification, dimensional analysis, are some examples of the use of this technology.
Since the purchase of these innovative systems involves demanding management and logistical costs and burdens, Labormet Due since 2013 has chosen to offer this type of service, equipping itself with the best technologies on the market.
The possibility of different supply solutions, for example to single projects or to time, allows to formulate advantageous offers and woven on the customer’s requests (for example continuous measurements and/or for sporadic activities).
In addition to the post-processing of the data obtained from the CT scan and the related analysis, Labormet Due can provide the data of the 3D scans in various formats that can be modified in the CAD environment, useful for reverse engineering and redesign.
Possibility of designing and manufacturing “customized” supports (with movable, tilting shelves, etc.) for positioning objects in the tomograph chamber, in order to optimize scanning performance.
Examples of services
- 2D X-Ray Control: during the tomographic visualization in real-time it is possible to carry out immediate checks such as dimensional measurements.
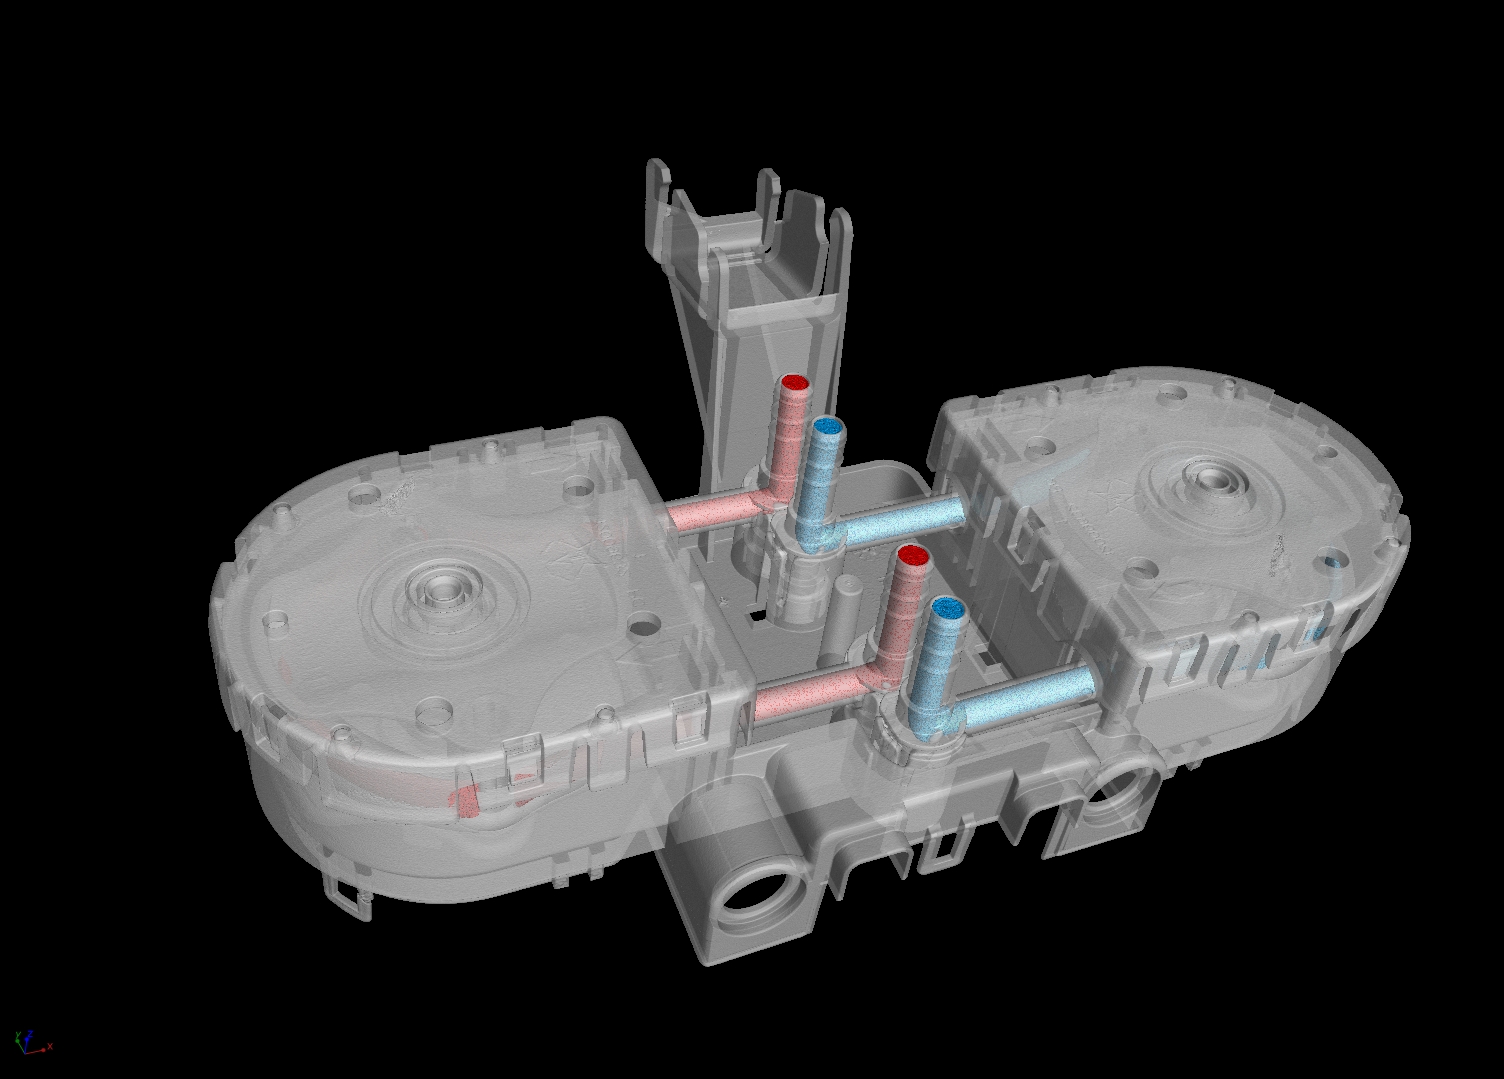
- Defect Analysis
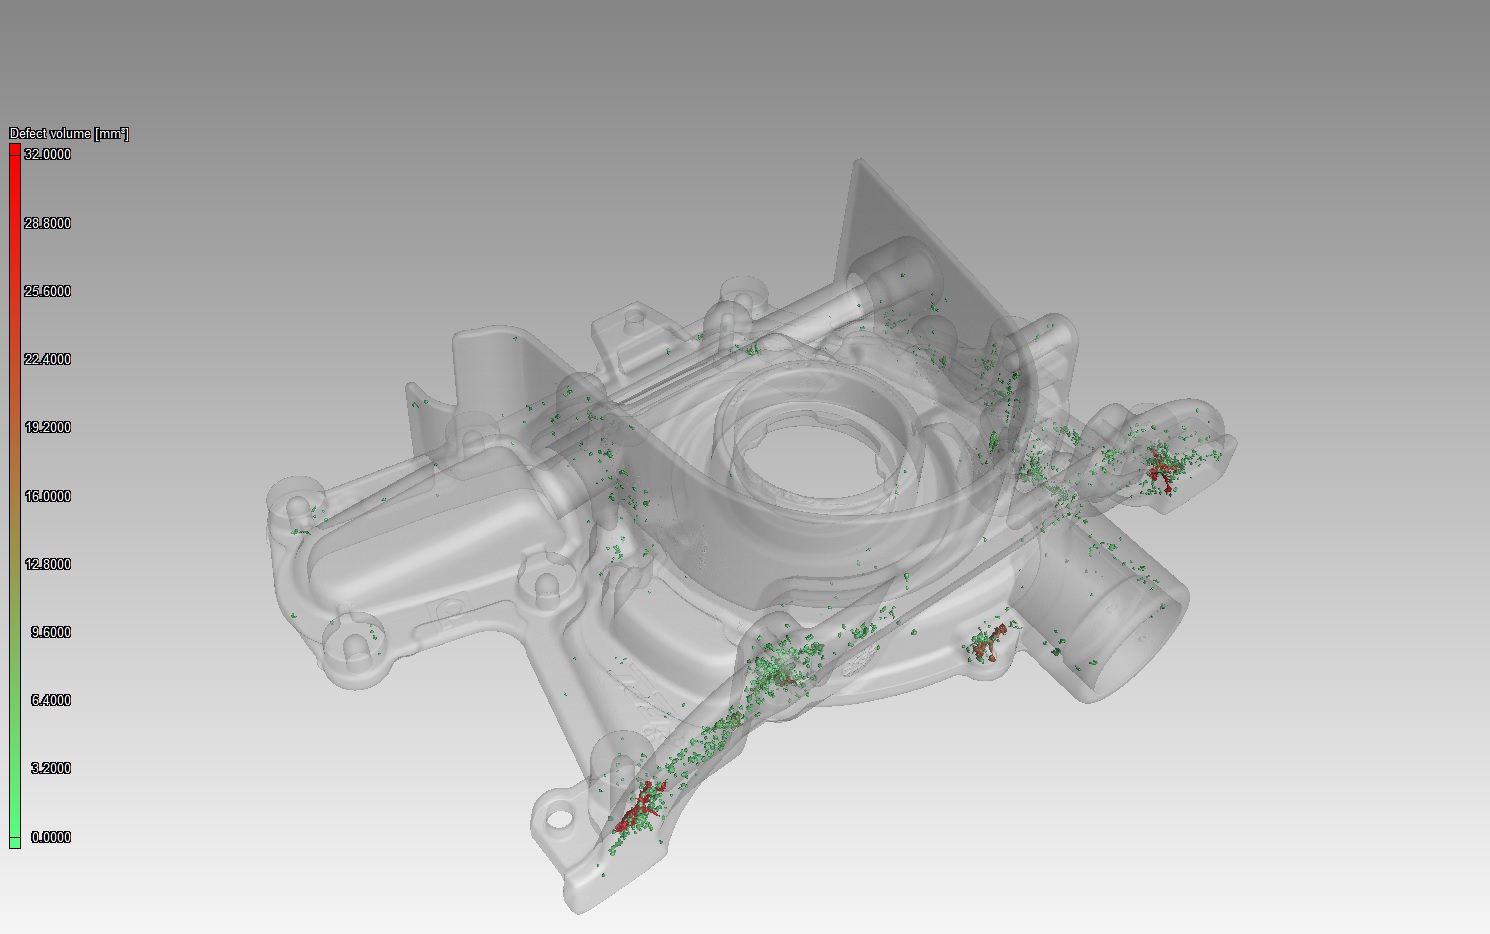
The acquired volume data, allow the evaluation of defects in the component such as eg. porosity, inclusions, and cracks.
- Dimensional Analysis
The acquired volume data contain geometric information of the entire object under examination, therefore it is possible to perform dimensional checks without causing damage.
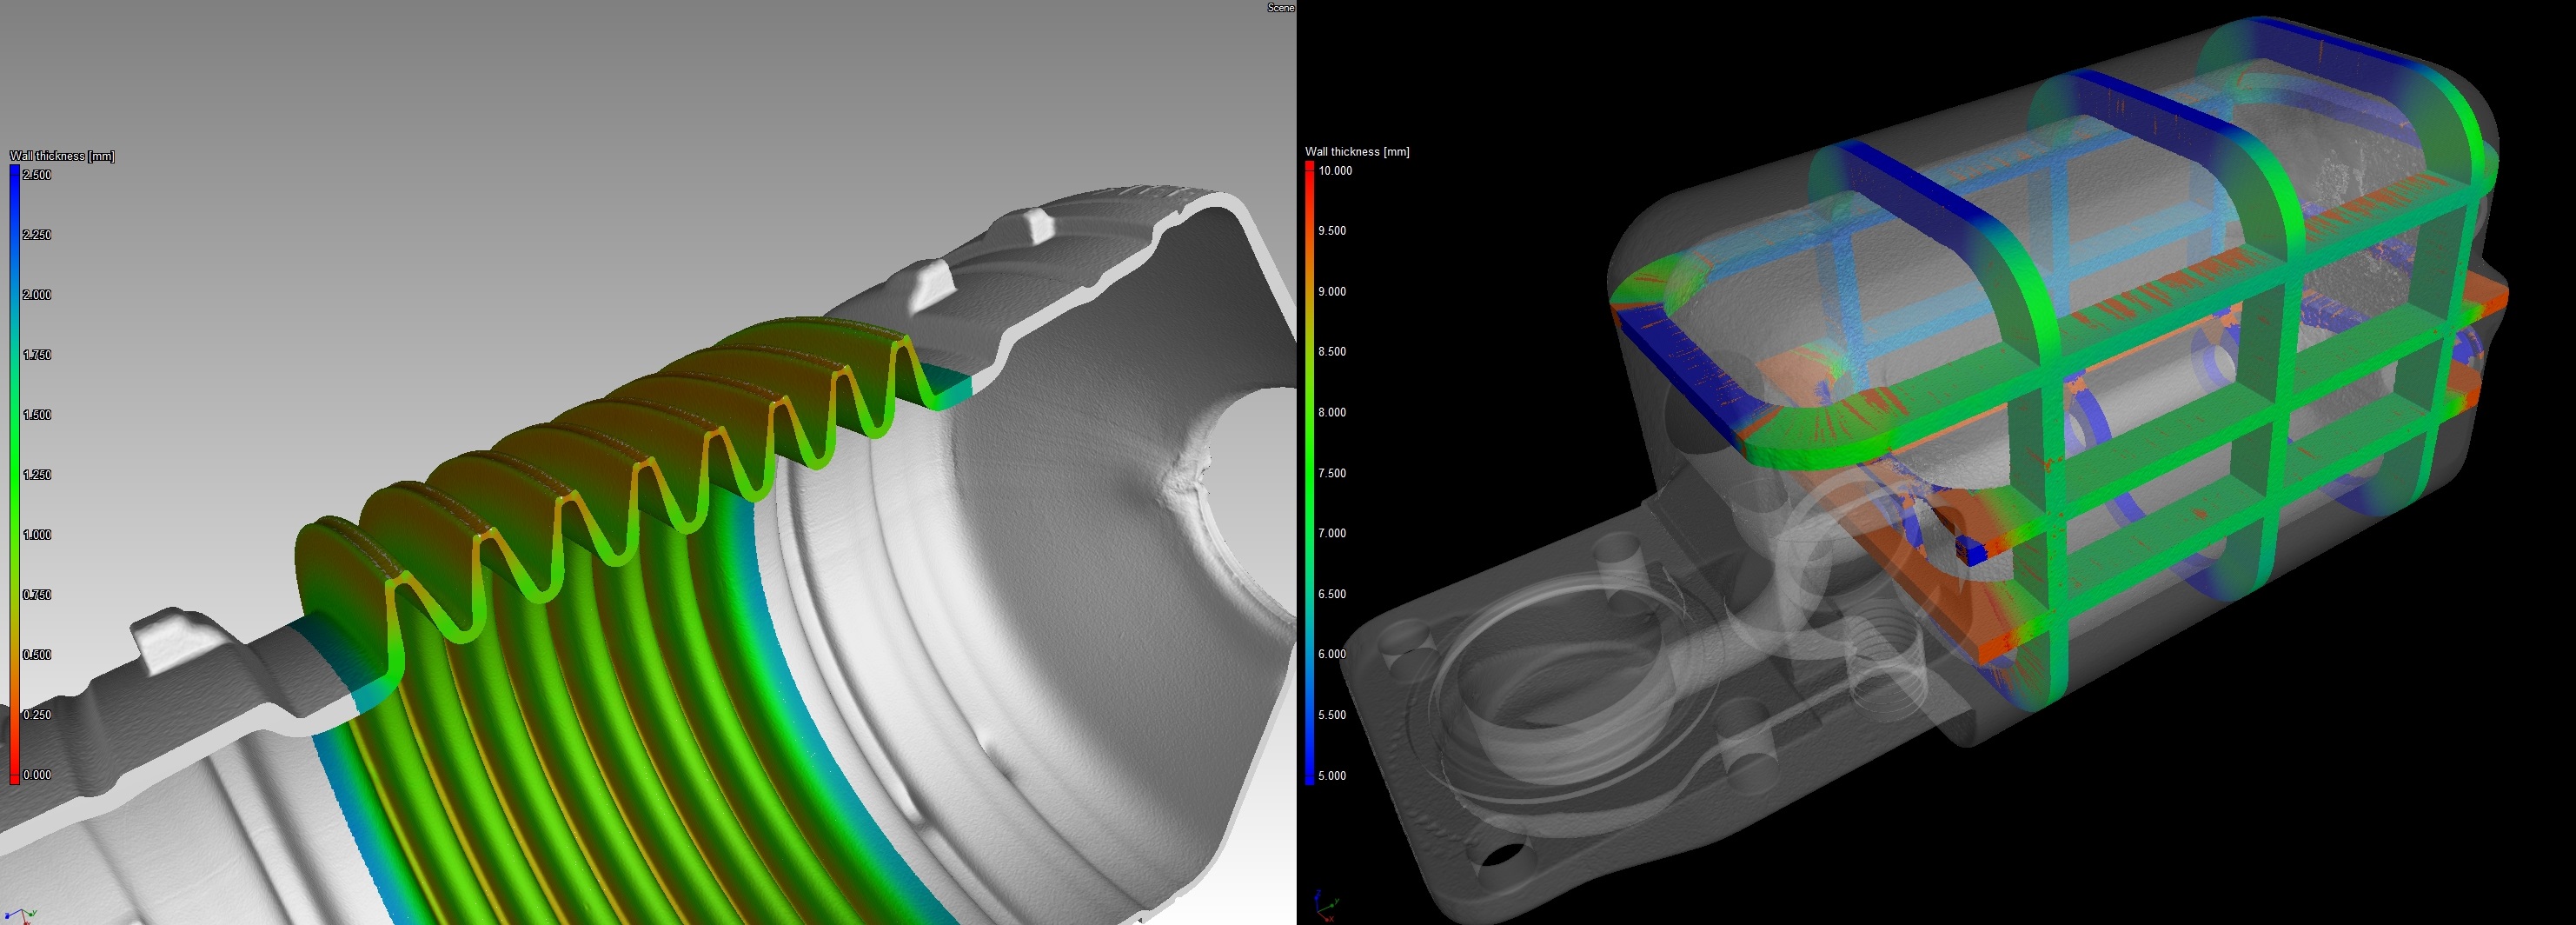
Thickness Analysis
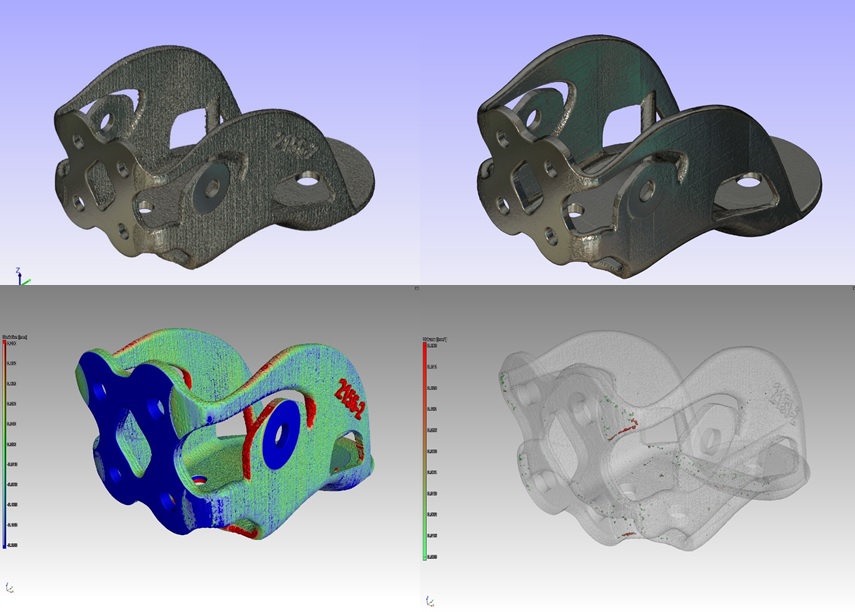
- Nominal vs Actual Comparison
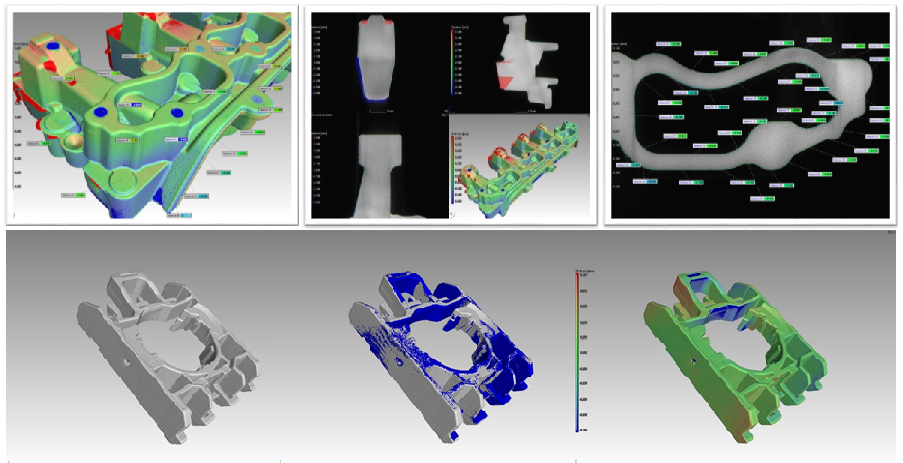
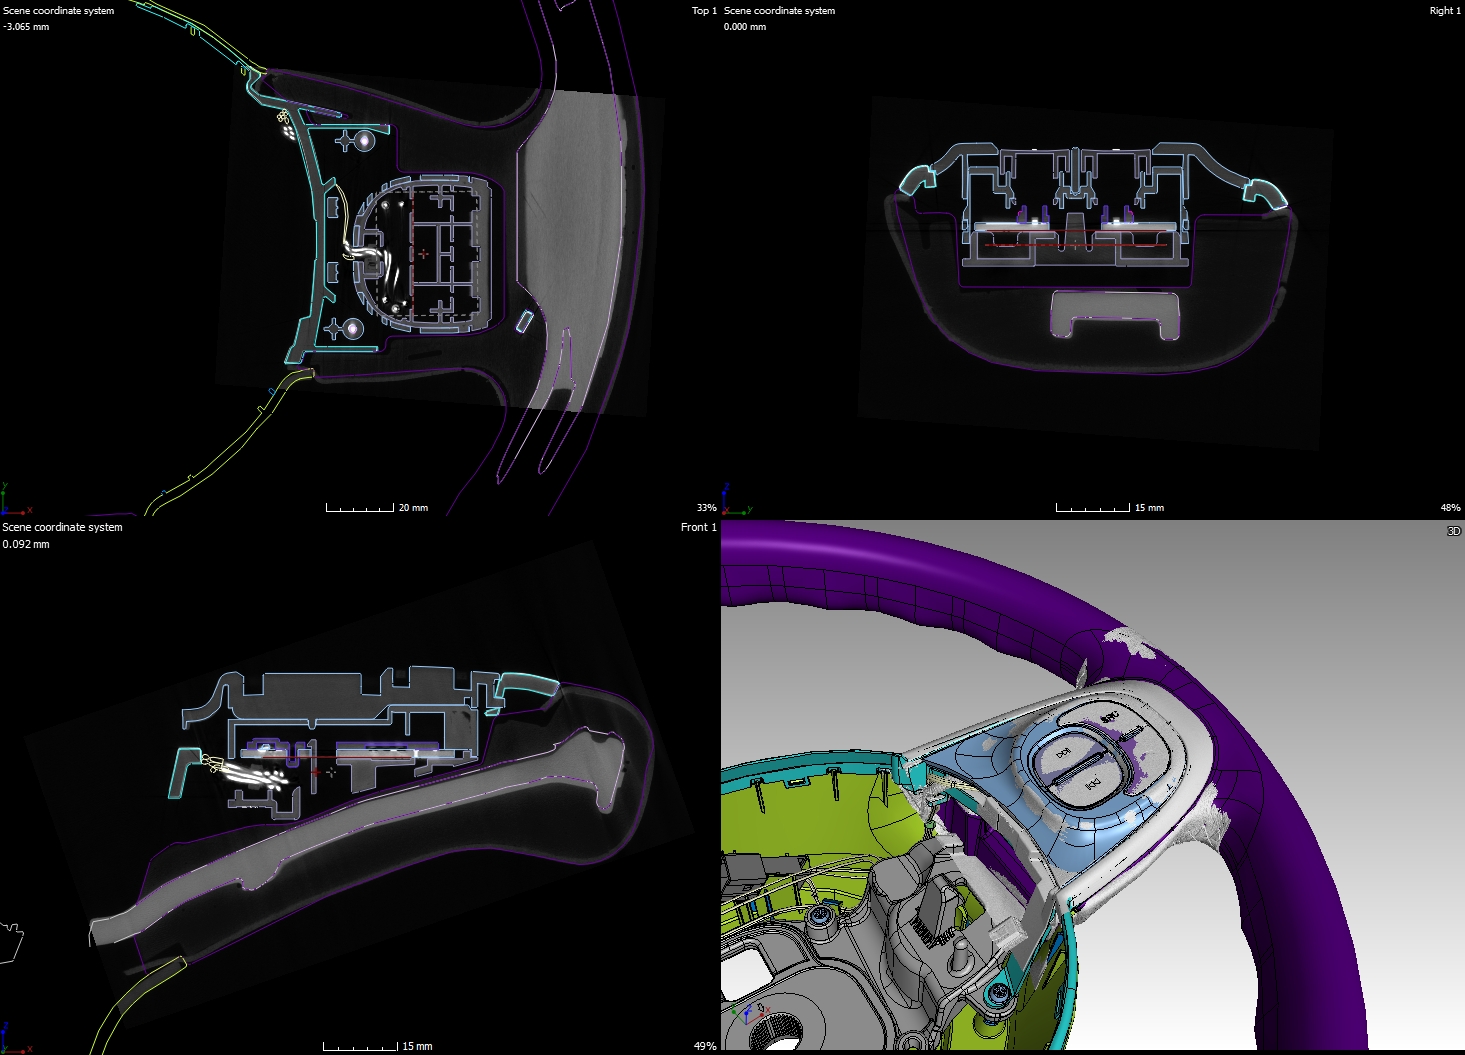
The surface or volume data obtained from the CT scan can be compared with the original CAD data of the piece. They are virtually superimposed and discrepancies are determined and shown. The representation of such discrepancies occurs through color coding and/or numerical display.
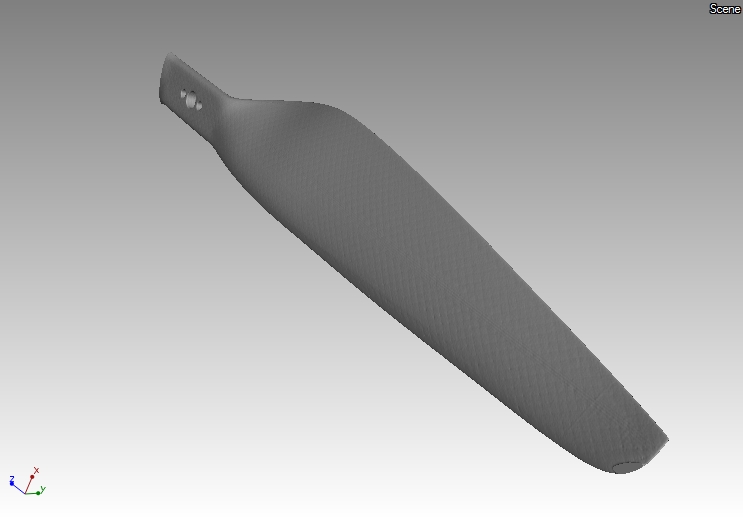
- Reverse Engineering
The data obtained from the CT Scan can also be used for the recovery of data on the geometry of a part without causing damage. The surface taken from the Voxel data can be transferred to a CAD model.
Examples of industrial applications
